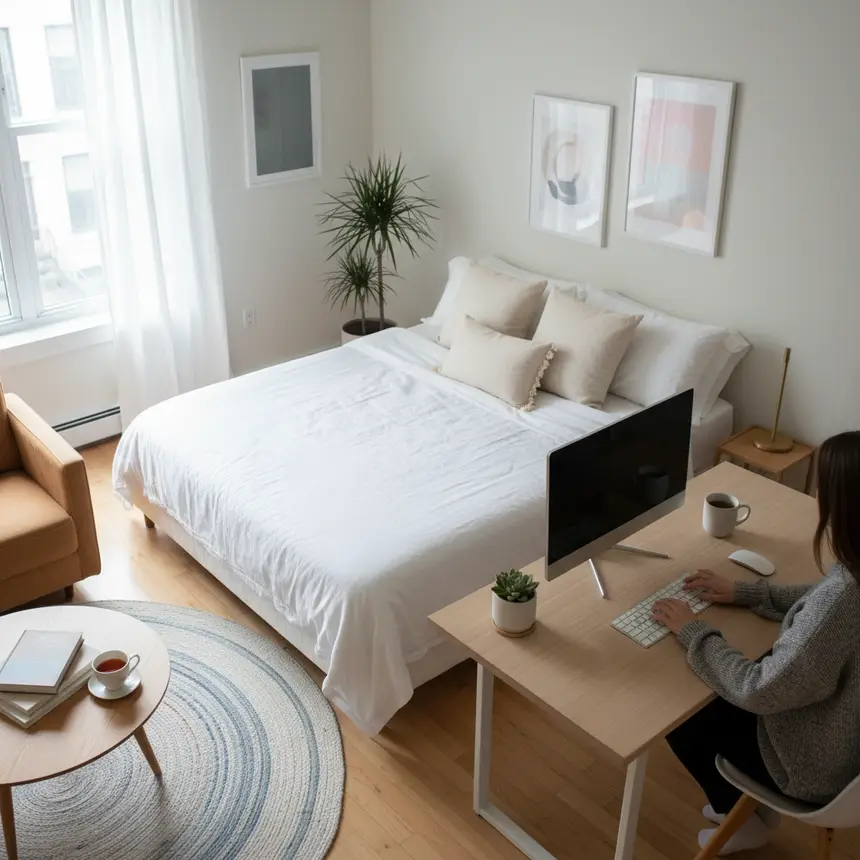
Setting up your first solo space is exciting, but installing large appliances can be tricky. Learn the optimal sequence for home improvements and appliance setups to avoid common pitfalls, save time, and create a perfectly functional and stylish studio apartment without re-dos.

A Rookie's Renovation Reality Check: The AC Installation Hurdles
Moving into your first studio apartment brings a wave of excitement, especially when it comes to personalizing your space. You envision the perfect layout, perhaps an accent wall, and some stylish floating shelves. However, this initial enthusiasm can quickly turn into frustration when a crucial appliance, like an air conditioner or a large refrigerator, needs to be installed. Imagine the AC technician arriving only to find your newly mounted shelving unit directly obstructs the installation spot, or the nearest power outlet is awkwardly far, requiring an unsightly extension cord. Suddenly, your pristine new space is filled with dust, and you're undoing recently completed decorative work. This common scenario highlights a fundamental oversight: failing to consider the practical order of operations. Such missteps not only create unexpected mess and additional work but can also lead to unnecessary costs. To avoid these common pitfalls, prioritizing the placement and installation of major items early in your planning process is key.

Beyond Aesthetics: Prioritizing Functional Installations in Your Small Space
When setting up your studio apartment, the sequence of installing large appliances and completing decorative finishes is more critical than you might think. Many eager residents start with aesthetic touches like painting or wallpapering, only to find these efforts undone later. For instance, if you plan to install a built-in wardrobe or an air conditioning unit, any carpentry work or electrical wiring should precede final finishes like painting or flooring. Neglecting this order often results in damage to your newly finished walls or floors during appliance installation, necessitating costly and time-consuming repairs.
Here’s how to effectively plan your space:
Here’s how to effectively plan your space:
- Identify Major Appliances: List all large appliances you intend to bring in (refrigerator, washing machine, AC, etc.) and note their approximate dimensions.
- Verify Utility Requirements: Check the specific power outlet needs (voltage, type, location), water supply/drainage, and external venting requirements for each appliance.
- Ensure Adequate Clearance: Don't just measure the appliance. Account for installation space, door swings, ventilation, and any necessary access for future maintenance.
- Map Out Movement: Plan the pathway for moving these large items into your apartment. Identify any furniture that might need temporary relocation to facilitate a smooth installation.
※ This post contains affiliate links. I may earn a commission at no extra cost to you.


Your Step-by-Step Guide to Seamless Appliance Integration
A smart solo dweller aims to minimize hassle and rework by following an efficient installation routine. Use these steps to meticulously plan your space:
1. Envision the Layout: Begin by listing all major appliances and visualizing their exact placement. Consider operational aspects like refrigerator door swings or washing machine water connections to refine these locations.
2. Consult with Professionals: Before purchasing or just prior to installation, consult with relevant experts—appliance installers or a handyman. They can assess feasibility, identify potential structural needs (like drilling for AC lines), or confirm electrical capacity. Pre-coordinating these details is crucial.
3. Prioritize Structural and Utility Work: Any task involving structural changes or utility hookups—such as installing new electrical outlets, plumbing lines, or drilling wall holes—should be completed before final cosmetic finishes like painting, wallpapering, or flooring. This approach minimizes damage and ensures a clean, integrated look. Carpentry for large appliance recesses should also happen at this stage.
4. Install Appliances and Verify Functionality: Once the preparatory work is done, proceed with appliance installation. Thoroughly test each appliance to ensure it’s functioning correctly. Take note of any small gaps or unfinished edges that might appear post-installation.
5. Final Touches and Cleanup: After all major appliances are securely in place, arrange smaller furniture and decorative items. Address any gaps or rough edges around the newly installed units with appropriate sealants or trim. This final stage brings your carefully planned space to its complete and polished form.
1. Envision the Layout: Begin by listing all major appliances and visualizing their exact placement. Consider operational aspects like refrigerator door swings or washing machine water connections to refine these locations.
2. Consult with Professionals: Before purchasing or just prior to installation, consult with relevant experts—appliance installers or a handyman. They can assess feasibility, identify potential structural needs (like drilling for AC lines), or confirm electrical capacity. Pre-coordinating these details is crucial.
3. Prioritize Structural and Utility Work: Any task involving structural changes or utility hookups—such as installing new electrical outlets, plumbing lines, or drilling wall holes—should be completed before final cosmetic finishes like painting, wallpapering, or flooring. This approach minimizes damage and ensures a clean, integrated look. Carpentry for large appliance recesses should also happen at this stage.
4. Install Appliances and Verify Functionality: Once the preparatory work is done, proceed with appliance installation. Thoroughly test each appliance to ensure it’s functioning correctly. Take note of any small gaps or unfinished edges that might appear post-installation.
5. Final Touches and Cleanup: After all major appliances are securely in place, arrange smaller furniture and decorative items. Address any gaps or rough edges around the newly installed units with appropriate sealants or trim. This final stage brings your carefully planned space to its complete and polished form.

Crafting Your Cozy Corner: The Power of Thoughtful Planning
Setting up your personal sanctuary is an exciting journey, but tackling tasks out of order can easily lead to frustrating double-work. This is especially true in the limited confines of a studio apartment, where every decision has a magnified impact. However, by understanding the optimal sequence for appliance installation and finishing work, you can significantly mitigate these challenges. Beyond merely filling your space with belongings, a thoughtful consideration of function and flow lays the groundwork for an efficient and enjoyable solo living experience. Each small planning step contributes to building a comfortable and highly functional home. So, the next time you're planning a new furniture piece or a significant change, ask yourself: 'What needs to happen first?' Smart preparation is the secret ingredient that will elevate your solo living lifestyle, making your space truly your own.
Frequently Asked Questions
Q. What's the very first thing to consider when bringing a large appliance into a small apartment?
A. First, accurately measure the appliance and ensure it physically fits into your designated space. Crucially, also identify the location and availability of necessary utility connections like power outlets, water lines, or vents required for the appliance's operation.
Q. When is the best time to do carpentry or painting during apartment setup?
A. It's best to install large appliances or built-in furniture first, then proceed with carpentry work, painting, or wallpapering. This approach minimizes damage to finished surfaces during installation and ensures a cleaner, more integrated final look.
Q. Who should I contact if I need to move an electrical outlet or plumbing line?
A. For electrical outlet relocations, you should always contact a certified electrician. For plumbing line adjustments, reach out to a licensed plumber or a qualified general contractor. It's safer and more accurate to rely on professionals for these tasks rather than attempting them yourself.
Q. How can I deal with awkward gaps or imperfect finishes after appliance installation?
A. Small gaps can be neatly filled with caulk or trim pieces. For more significant spaces, consider using custom panels or slender storage solutions designed for narrow gaps. If the finish is severely imperfect, consulting a specialist in home repair or interior finishing might be the best option for a professional touch-up.